Recently I was asked if I get help set up Hyper V Core 2012 on a so you start dedicated server.
Firstly – So You Start (www.soyoustart.co.uk) are part of OVH. Their dedicated servers are really cheap.
Their network is fast, the dedicated server performs well.
However as you might expect for the money, their support is lacking to say the least.
I spent a good two days trying to figure out how on earth to setup a public switch on a server with one NIC, which is also used to remotely administer the box.
Every time you try using a GUI the NIC is disconnected and you lose all contact with the box. Even restarting wont help you.
Below are my steps to get a fully working Hyper V server with unlimited traffic for about £30 a month. Bargain.
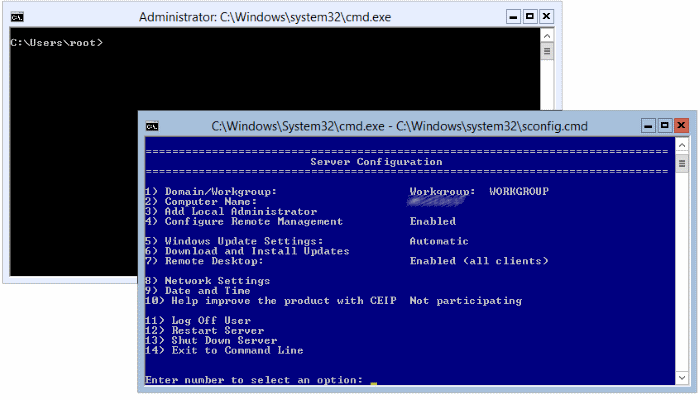
Usual Disclaimer– No Warranties/ Guarantees, Don’t blame me if it doesn’t work, bursts into flames or steals your dog. This worked for me, once.
1.) Install some software
Hyper V Core, while excellent and Free doesn’t have much of
a UI (Think Dos / Powershell).
We’re going to use chocolatey package installer to save us a lot of time.
For the latest commands and to find out more head over to www.chocolatey.org.
From the command prompt run:
@powershell -NoProfile -ExecutionPolicy unrestricted -Command "iex ((new-object net.webclient).DownloadString('https://chocolatey.org/install.ps1'))" && SET PATH=%PATH%;%ALLUSERSPROFILE%\chocolatey\bin
This installs the chocolatey package manager.
Now some other useful bits and pieces we may need (Remove any trailing whitespace if copying and pasting)
choco install googlechrome
choco install filezilla.server
(This didn’t work for me. Instead I launched Chrome and downloaded it from File Zilla).
Google Chrome – A web browser (If you don’t know this you probably shouldn’t be following these steps ). This will allow us to download other installers as needed. See the notes on File Zilla Server below for an example. Files will be downloaded to c:\users\root\downloads.
File Zilla Server – A solid FTP server allowing us to send files (Like Iso images for windows to our server and download backups of our VM’s as needed).
2.) Configure File Zilla
Add a user.
Highly Recommended – Configure FTP over SSL
Now we need to allow
Now Create a firewall rule allowing connections to filezilla through the windows firewall.
From a power shell prompt run (Type PowerShell:
New-NetFirewallRule -DisplayName "FTP In" -Direction Inbound -Protocol TCP –Enabled True –Action Allow -Profile Any -Program "c:\program files (x86)\filezilla server\filezilla server.exe" -Service Any -LocalPort 20,21,1024-65535 -EdgeTraversalPolicy Allow
Make sure you enable SSL (Click Generate new certificate to get started)

Happy days. You can now start uploading a windows ISO to your shiny server. While that’s going on, we’ll configure Hyper V.
3.) Set up 5Nine Hyper V Manager
Hyper V Core doesn’t come with any kind of management UI. Out of the box your options are:
• Manage it with power shell
• Enable Remote Management and start opening up more ports in your firewall.
Neither of these appealed to me. Fortunately a company called 5 Nine provides a Hyper V Remote Management Tool for free (I.e. no money).
Using Google Chrome, head over to 5Nine and download it (Registration required) from www.5nine.com.
Unfortunately it comes as a zip file.
I downloaded portable 7 zip (No Install) to Expand it.
7Zip Portable can be downloaded from:
http://portableapps.com/apps/utilities/7-zip_portable
Install it and run it.
Fantastic – You now have a tool to manage your Hyper Server. Whatever you do at this point do not create an external switch. The One and only NIC your server has would be used for the switch and a new virtual NIC created using DHCP. You lose all connectivity with your dedicated server. The only way to get it back I found was to reimage it. Let’s not do this okay?

4.) Create an External Switch from the command line
This is the hard part that really had me banging my head of the wall. If you create an external switch you lose connectivity.
You need to determine the Adapter name to use. Do to this from a Power Shell prompt run:
Get-NetAdapter
This will list the name of your adapters. Figure out which one you want to use for your switch.
In my case it was Ethernet 2.
Save the Power Shell Script below to a ps1 file (say c:\MakeSwitch.ps1). You can run:
Notepad c:\makeswitch.ps1
To do this. Update it with the correct name determined above.
<#
Make Switch for So You Start Dedicated Server
Usaage:
execute the command Get-NetAdapter
This lists the ethernet adatpers.
Replace "ethernet 2" below with the name of your connected physical adapter
Adapted from:
http://blogs.technet.com/b/heyscriptingguy/archive/2013/10/09/use-powershell-to-create-virtual-switches.aspx
#>
Import-Module Hyper-V
$ethernet = Get-NetAdapter -Name "ethernet 2"
New-VMSwitch -Name externalSwitch -NetAdapterName $ethernet.Name -AllowManagementOS $true -Notes 'Parent OS, VMs, LAN'
New-VMSwitch -Name privateSwitch -SwitchType Private -Notes 'Internal VMs only'
New-VMSwitch -Name internalSwitch -SwitchType Internal -Notes 'Parent OS, and internal VMs'
This actually creates three switches, one of each type. (external, internal and private).
Done. You now have a working hyper V server. Now Launch 5 Nine Manager and start creating your VMs.
Read my next blog post on setting up a Hosting VM on a So You start Hyper V Server.